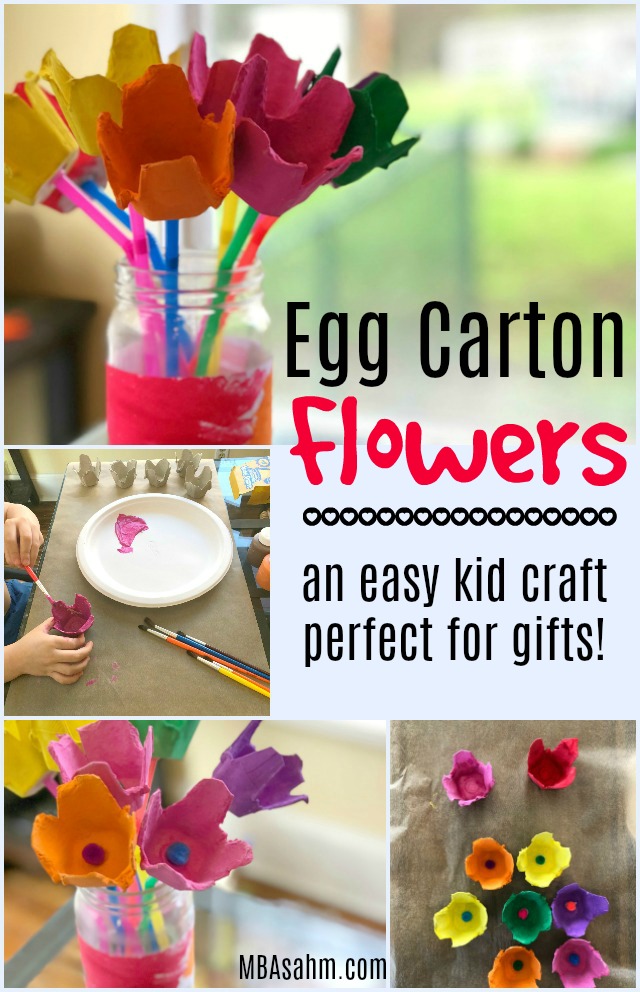
I’m all about kid crafts that can last longer than your classic construction paper card – and that’s exactly what these egg carton flowers are! They will last forever, can be stored away for special occasions, or placed prominently somewhere permanently.
And they are ADORABLE.
Bright colors, screaming of little kid design…and they don’t require a wall to hang on.
If you’d like more ideas for fun and easy kid crafts, subscribe to MBAsahm’s Kid Crafts email list for new ideas! Or, if you’d like more tips on reaching financial freedom, living a fulfilled life, and raising happy kids, subscribe to MBAsahm’s Full List for notification of all new posts!
Some links on this page may contain affiliate links. For more information, see my disclosure policy.
There is some prep work in the beginning that you may need to do if you’re working with really little guys (cutting up the egg cartons) and some hot gluing for the stems, but other than that, these painted egg carton flowers are a kid craft that they can do all on their own!
Here’s what you’ll need:
- An empty cardboard egg carton
- Scissors
- Kid-safe paint
- Colorful bendable straws
- Hot glue gun
- Elmer’s glue
- Colorful pom-poms
- Mason jar (or other vase-type container)
- Paper (we just used printer paper)
Ready to get started?? Here’s how to make these adorable egg carton flowers:
Step 1: Prep the Egg Carton
I did this part for my son, but if your kids are a little older, it’s a perfect job for them to take on.
What you need to do is cut each egg compartment apart from the others. Depending on what brand of eggs you bought, the shape of each egg compartment will be different. But this is great! It will make for unique and different flowers.
Once your egg carton is cut up, you may need to cut slits in it to make the petals more pronounced, but again, this will be dependent upon the egg carton you use.
But even without the slits, there will be no question – you’re egg compartments will make perfect flowers!
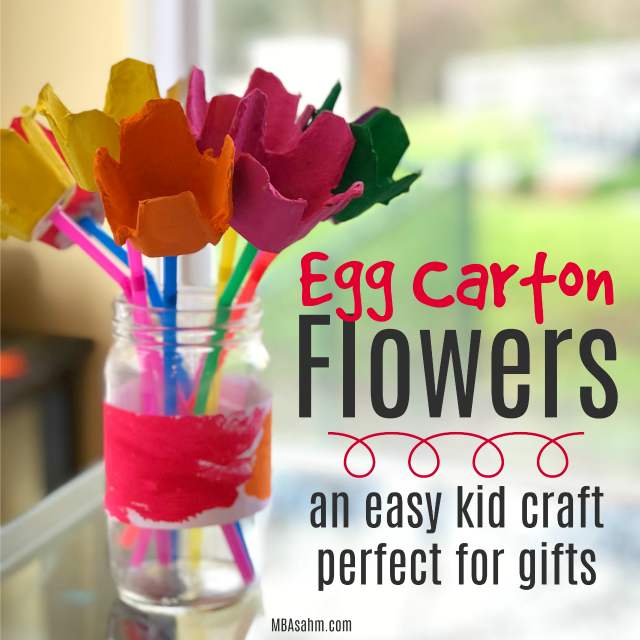
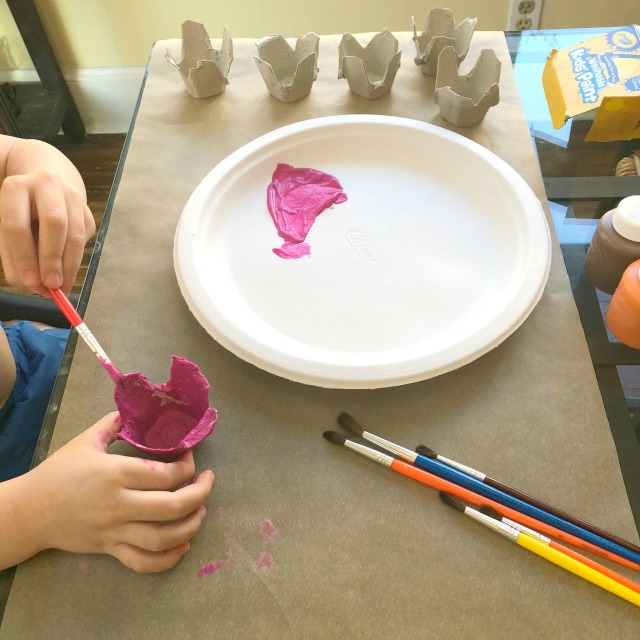
Step 2: Paint the Flowers
Without a doubt, this will be the funnest part of the craft for your kids.
My recommendation is to set them up with their paint and let their creativity go wild!
With that said, I did try to coax my little guy to use different colors. 🙂
But honestly, a bouquet of green, blue, and brown flowers from my son still would have been adorable. 😉
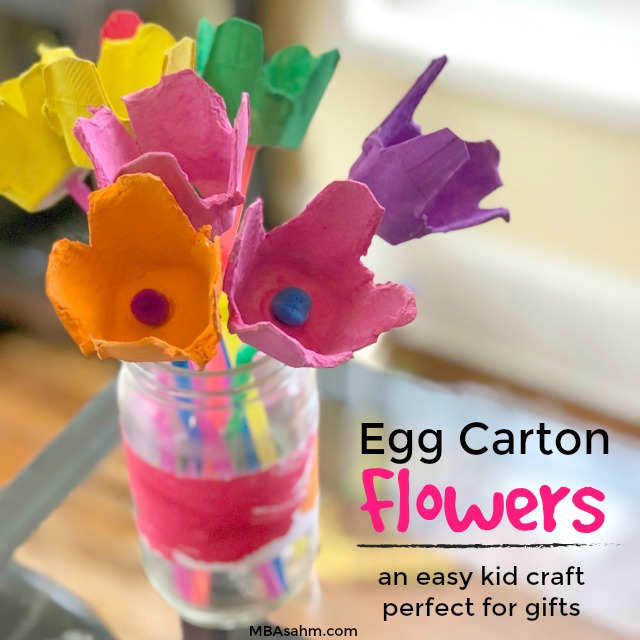
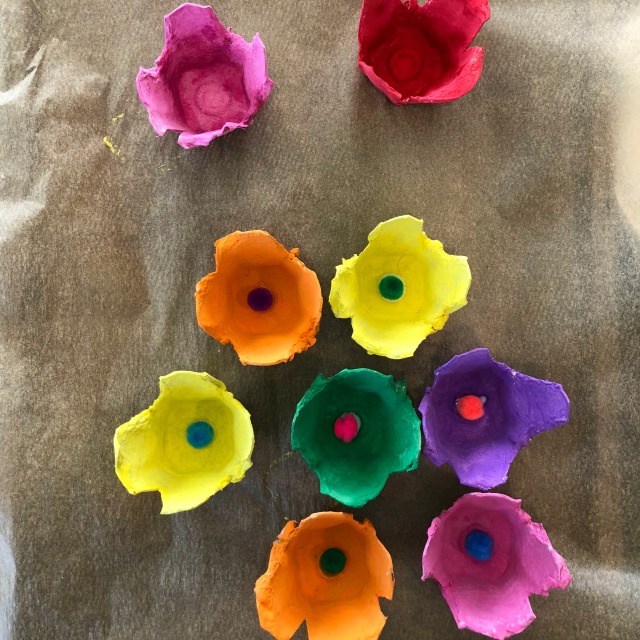
Step 3: Glue the Pom-Poms
Once the flowers are dry, you want to glue one pom-pom in the center using Elmer’s glue.
Again, you can let your kids pick and choose which colors they use or have them all be the same.
We used different colors, but tried to find ones that were “opposite.” It actually was a fun opportunity to play around with matching colors!
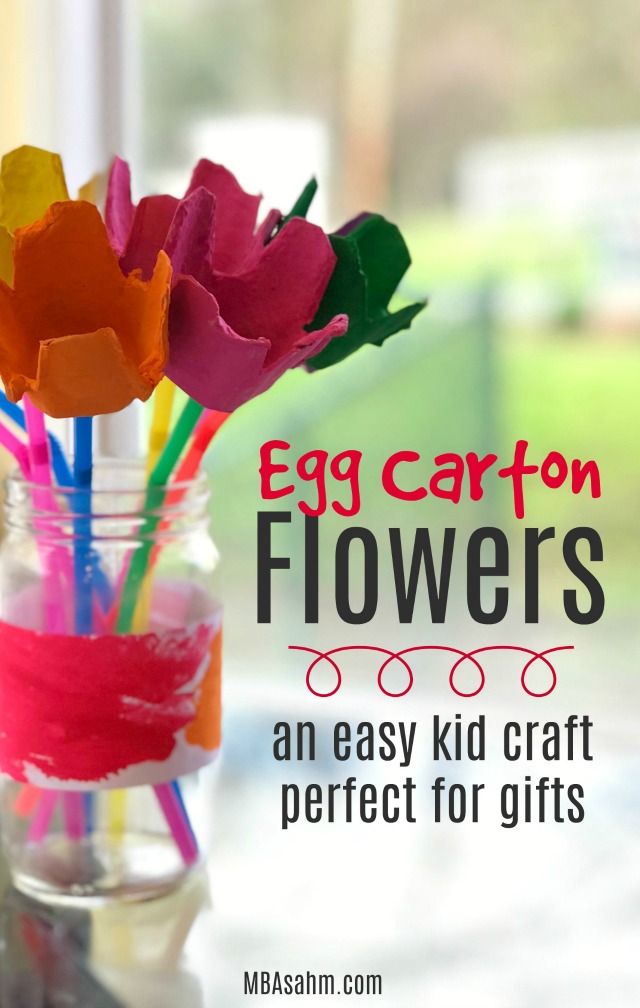
Step 4: Create Your Vase
While your flowers and/or pom-poms are drying, you can start to get your vase setup. We used empty jars that I had saved from various condiments that we normally buy (things like pickles, mayo, etc.).
Just wash the label off and voila! Free (kinda) flower vase.
To make the vase even cuter, we cut strips of printer paper and my son painted them however he liked.
This was a really cute addition and I highly recommend doing it yourself! It’s always amazing to see what they come up with when you give them paint and tell them to do whatever comes to mind.
Once the paper is dry, just place a dab of glue (or scotch tape) onto the vase to secure the paper around it.
Step 5: Add Your Flower Stems
I did this final step because I’m not ready for my little guy to handle a hot glue gun, but he’s not far from being old enough, so some of you may have kids that can do this part themselves!
After the flower and pom-poms are dry, turn your flower over and add a big gob of hot glue.
Immediately take a colorful straw (again, we used alternating colors) and stick the top part of the straw into the glue. You will need to hold it in place for a minute or two until the glue has dried, but once that happens you’re done!
As you finish, you can put your flowers right into the vase and watch your bouquet grow!
I absolutely love this easy kid craft and we have done it over and over again over the last few months. I hope it goes as well for you and that you come out with a beautiful hand made bouquet of flowers!
Good luck!
You may also be interested in:
If you’d like more ideas for fun and easy kid crafts, subscribe to MBAsahm’s Kid Crafts email list for new ideas! Or, if you’d like more tips on reaching financial freedom, living a fulfilled life, and raising happy kids, subscribe to MBAsahm’s Full List for notification of all new posts!