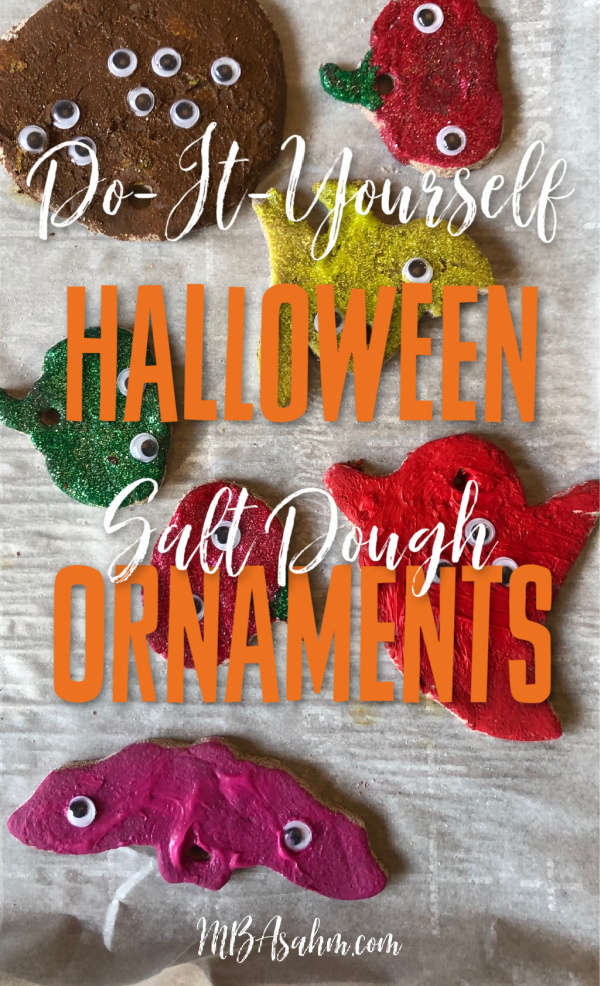
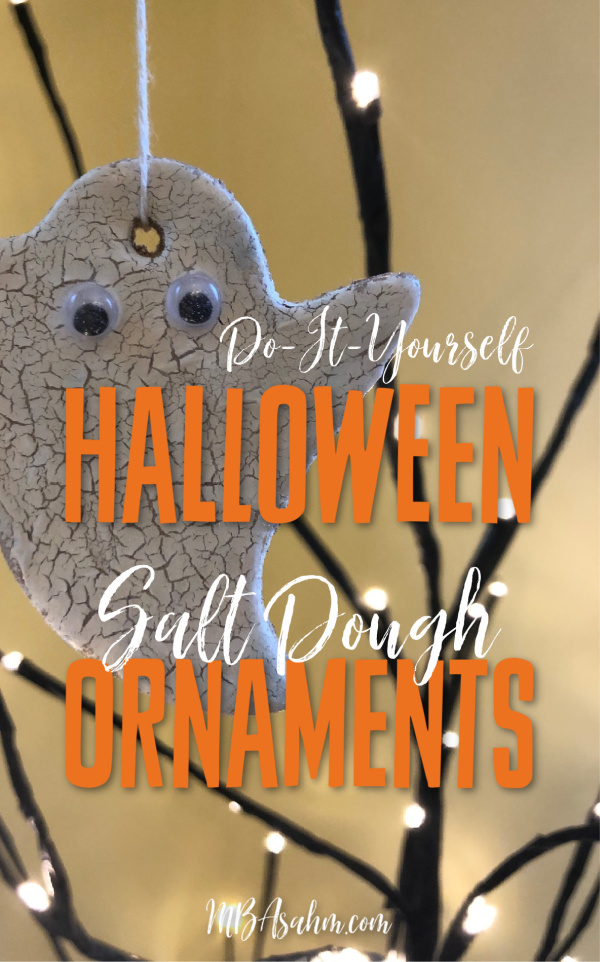
I am so excited to finally start a Halloween tree in our house this year! And that has led to the inevitable – DIY salt dough Halloween ornaments!
We are such a huge fan of salt dough ornaments in my house, so this was so much fun for both of my kids.
One of the things I love most about salt dough ornaments is that it is a really great activity for the kids that can be broken down into different phases and spread out over days or even weeks. It’s also a great way to get them in the Halloween spirit without needing candy!
Some links on this page may contain affiliate links. For more information, see my disclosure policy.
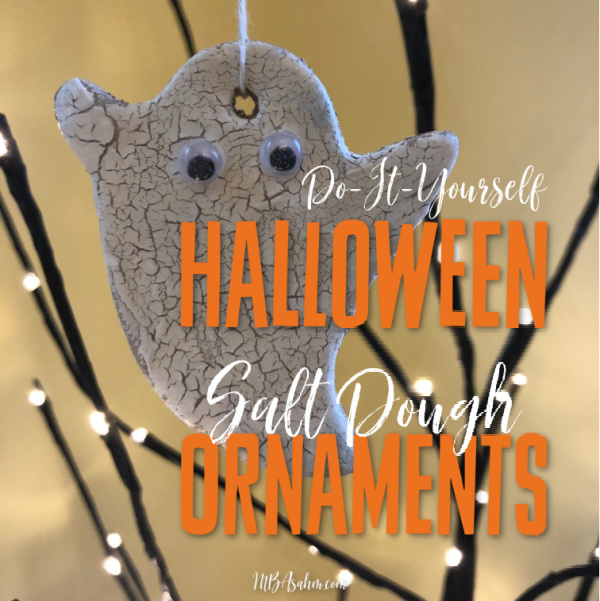
What You Need for Your Salt Dough Halloween Ornaments
Making salt dough is really simple and you probably already have the ingredients on hand. Here’s what you’ll need for that piece:
- Flour
- Cinnamon
- Salt
- Water
In addition to the dough, you will need:
- A Rolling Pin
- Parchment Paper
- Halloween Cookie Cutters (these are the ones I used!)
- Washable Paint (this is what I always use)
- Googly Eyes (this is optional!)
- Paint Brushes
- Modge Podge
- String
Making the Halloween Ornaments
Now for the fun stuff! Making these Halloween ornaments is fun and easy, so I have my kids do almost everything.
Step 1: Make the Salt Dough
You want to start with the salt dough. Because it’s the holiday season, I use a salt dough recipe that incorporates cinnamon because it smells so good!
Here’s what to mix:
- 1 cup of flour
- ½ cup of salt
- ½ cup of cinnamon
- ¾ cup of water
Step 2: Roll Out the Dough
Once the salt dough is made, you’re ready to roll it out!
Make sure to lay parchment paper down and have some extra flour on hand (so that it doesn’t stick).
Lay out the dough on the parchment and sprinkle some flour on top…then start rolling away with the rolling pin!
Once the dough is laid out flat, I flip it over and sprinkle more flour.
Step 3: Cut Out Your Shapes
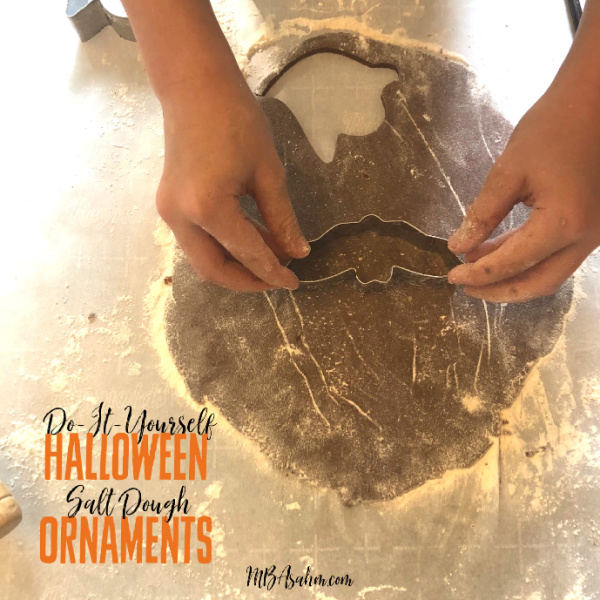
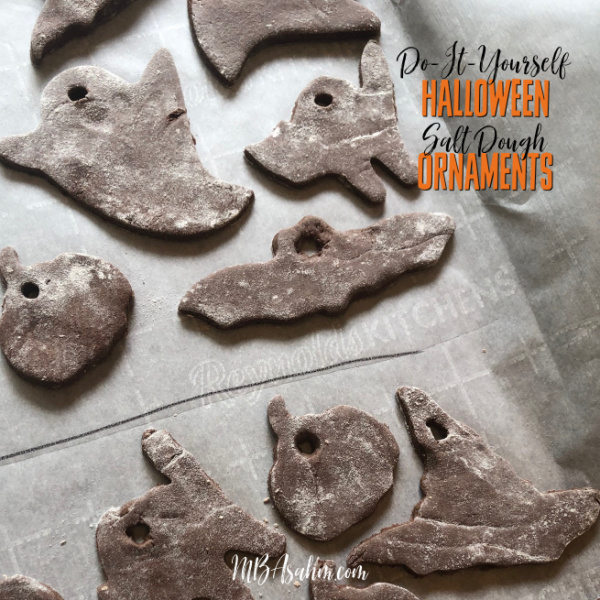
This is an exciting step! Using your Halloween shaped cookie cutters, cut out different shapes and place them on a separate sheet of parchment paper to dry.
Roll up the scraps and repeat Step 2 to make more ornaments!
Step 4: IMPORTANT – Create Ornament Holes
Whatever you do, don’t forget this step! You need to poke holes at the top of your ornaments so that you’ll be able to hang them. You can use the back of your paint brushes, a chopstick, or a straw for this.
Step 5: Let Your Ornaments Dry
This step takes a few days, so be prepared for that. After one night of drying out, I flip over the ornaments so that the bottom side can dry. Depending on the consistency and thickness of your ornaments, you may need to flip them for a couple of days. You will be able to tell when they are dry because the color changes and they become hard.
Step 6: Decorate
Now for the fun part!
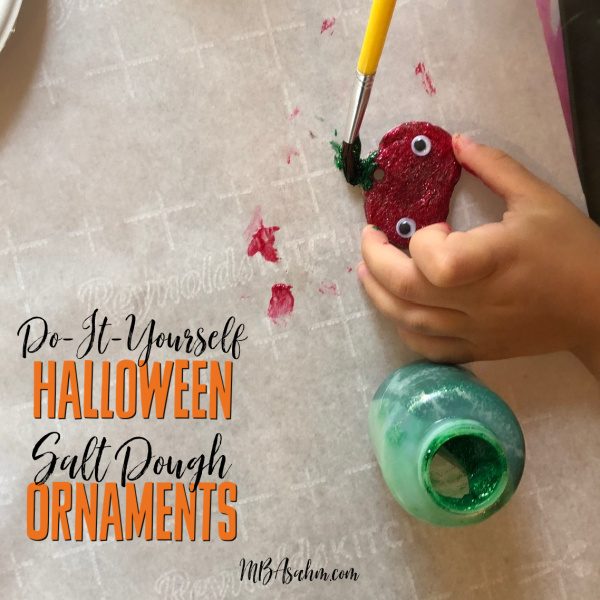
I always use these washable paints with my kids (for obvious reasons), but they work great. Just let them go to town!
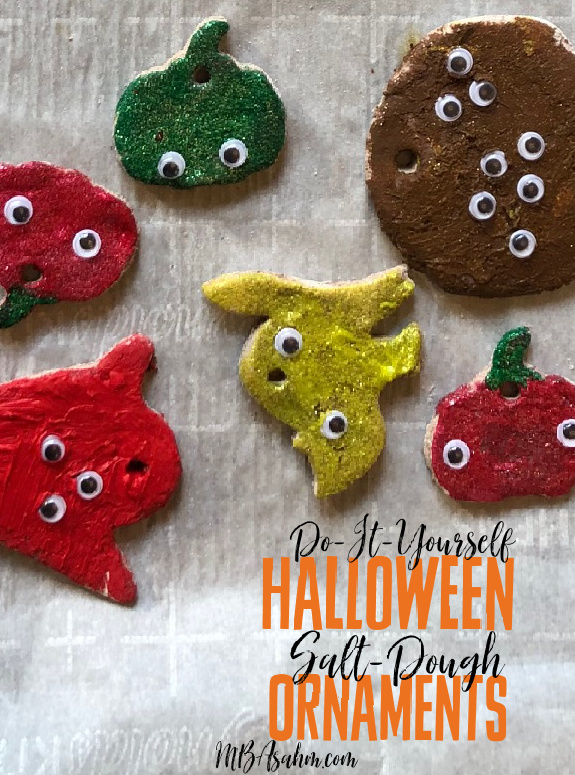
With the Halloween theme, I added googly eyes to the mix and they were a bit hit. You could also add glitter, sequins or any other flourishes you may have on hand.
Step 7: Modge Podge
Once you’re done decorating your ornaments, wait until they are completely dry and then add a layer of modge podge. This will help them last longer and provides an extra protective layer.
Step 8: Hang and Admire!
Once the modge podge dries, add a string and you’re done! Time to decorate your tree!
Good luck with your Halloween decorating and activities this year! I hope you have a lot of fun.
You may also be interested in:
- Where to Find a Halloween Advent Calendar This Year
- The Best Halloween Gift Ideas to Make This the Best Year Yet
- The Best Halloween Movies for Kids
