
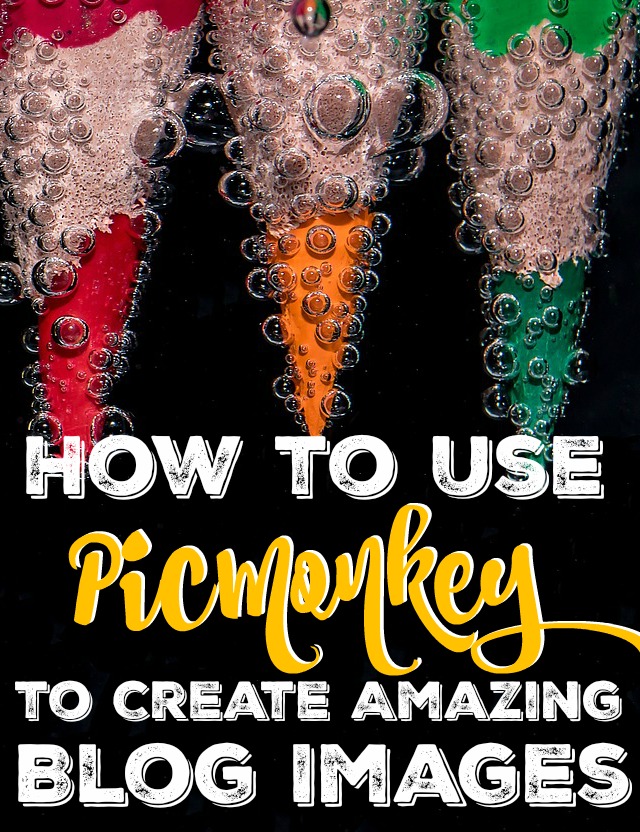
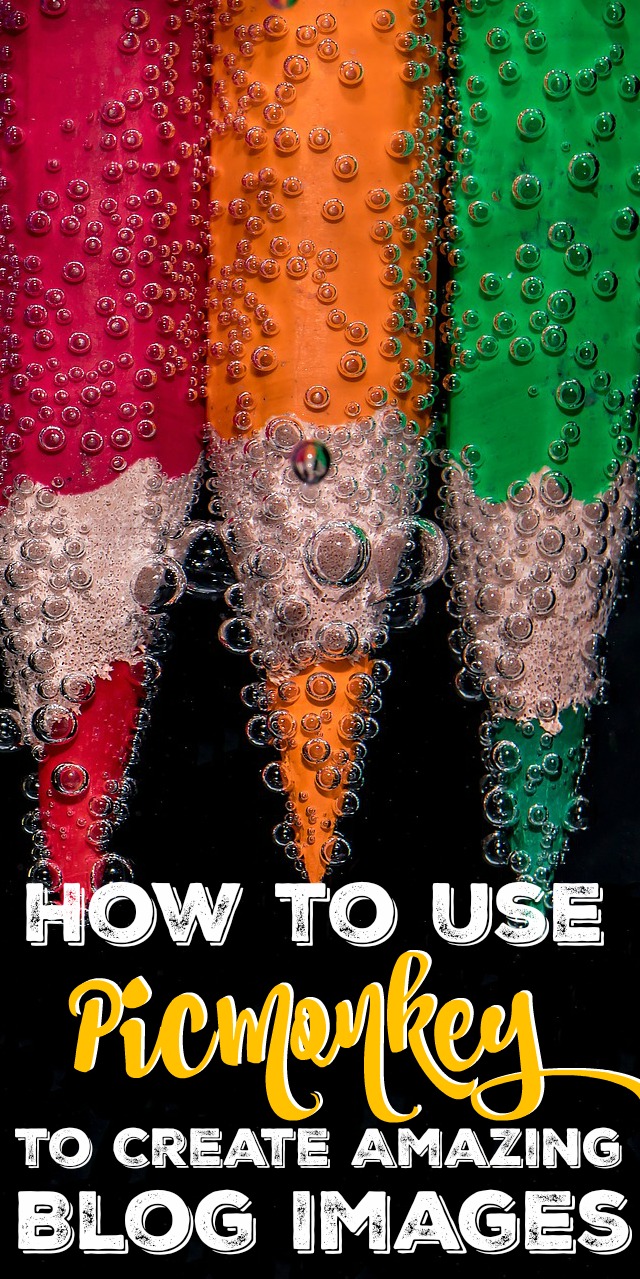
If you have a blog or website, you already know (or will surely find out soon) that high-quality images are almost more important than the content of your site. As they say – an image is worth a thousand words. When your images aren’t up to par, not only is it way harder to market your material and products, but it also can appear unprofessional. That is why it is essential to learn how to use PicMonkey (or other sites like it) to improve your images.
Basically, it’s worth the investment to find and create amazing images. And luckily nowadays you really don’t need to pay for a thing, so the only real investment is your time.
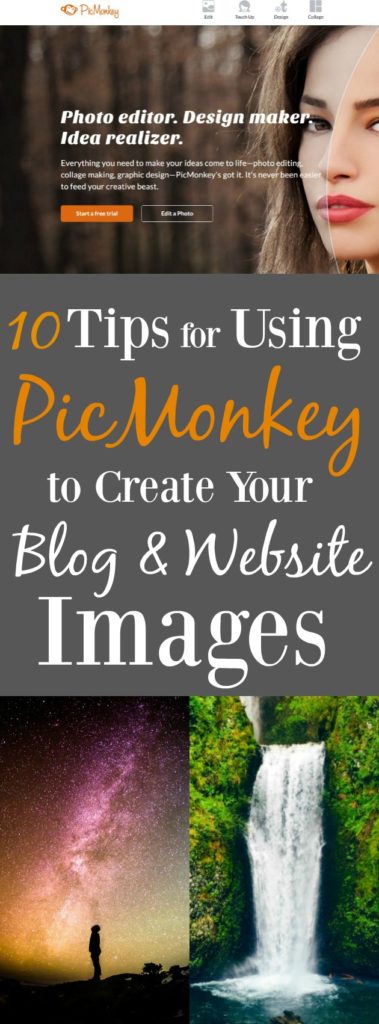
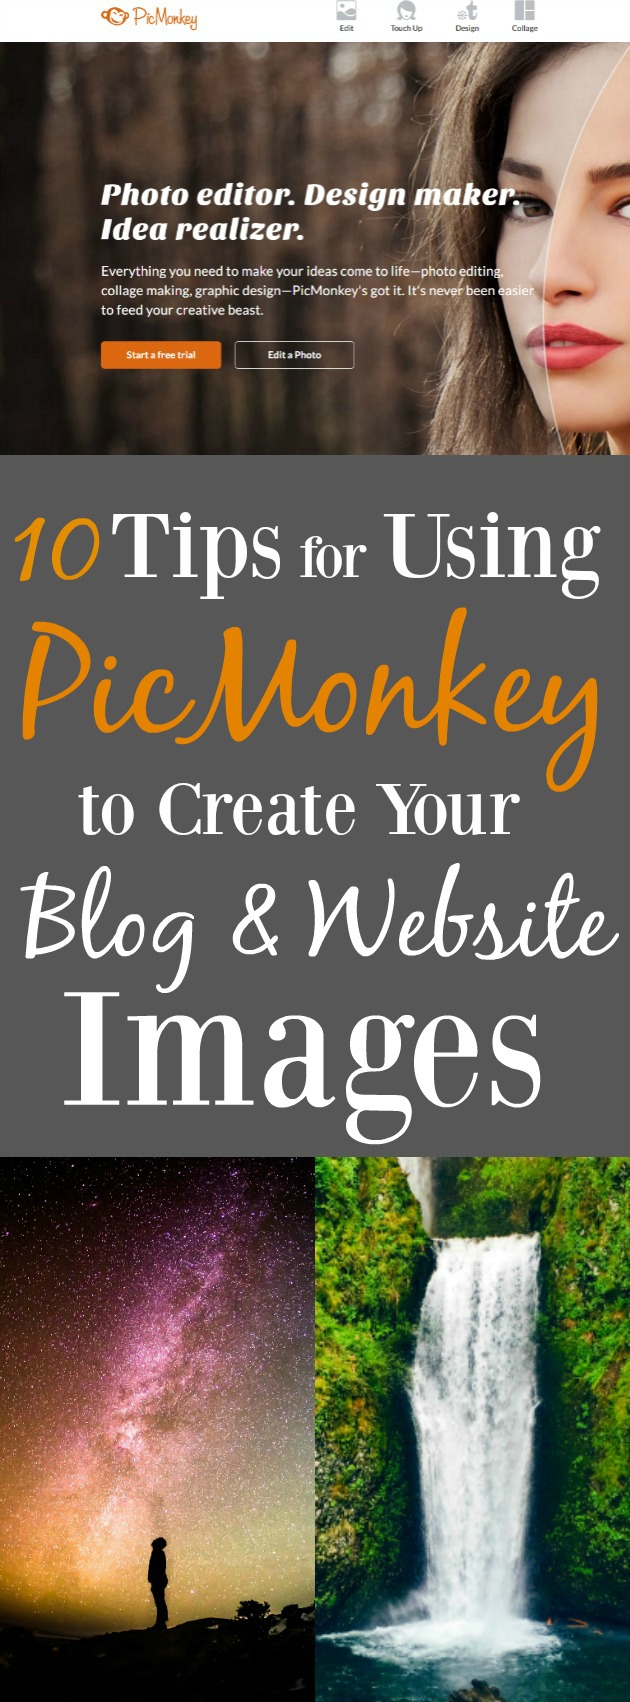
My absolute favorite go-to site for editing and creating images without a doubt is PicMonkey. I stubbornly refused to pay for it for years and then when I finally gave in, the increase in quality of my images paid me back 10 fold. So it’s worth the investment. Every single image that appears on my blog has been put through PicMonkey for minor or major edits, or has been created there from scratch. I’m telling you, if you use (or need) a lot of images, this site will be a game changer.
It’s fairly easy to play around with and figure out on your own, but here are my best tips to make the most of it and transform your images:
If you’d like more tips on reaching financial freedom, living a fulfilled life, and raising happy kids, subscribe to MBAsahm for notification of new posts!
Some links on this page may contain affiliate links. For more information, see my disclosure policy.
Start with the Right Image
This isn’t exactly PicMonkey advice, but it has to be said. Some images just can’t be saved, so you want to start out with something that PicMonkey can work with. If you’re going to add text to your image (which I highly recommend), make sure there’s some blank space in the photo so your text doesn’t fall right on top of your image. If you want to take your own photos, that’s great, but make sure they’re good! I occasionally use my own (especially for parenting-related topics), but the vast majority of my images are free stock photos. If you’re not sure where to find them, check out my list of the best sites to find free stock photos. → Where to Find Amazing Free Stock Photos
Crop for the Right Audience
This is critical if you’re planning to rely on social media for more traffic. Each platform caters to a different image size and some really don’t give you must leeway (ahem, ahem…Facebook). Pinterest likes images to be vertical (the longer the better); Facebook and Twitter like horizontal images (a couple pixels off and Facebook punishes you). PicMonkey makes cropping easy, so there’s no excuse to not do this!
For Facebook, I always crop my images to be 1200×630, but if your image isn’t large enough 600×315 will work just fine. I use my Facebook images for Twitter, which seem to work.
For Pinterest, the key is to make sure that your image is vertical and as long as possible…at the very least, square. Don’t even bother with horizontal images (so don’t try and use your Facebook photos for Pinterest!). I always, always, always make the image as long as possible (without getting ridiculous) – so crop out what you don’t need. The only exception to this rule is that you should try to keep BOTH dimensions no smaller than about 500 pixels – I personally no longer crop my images smaller than 640 pixels. Technically, they only need to be 300 pixels to look nice in the Pinterest feed, but the second someone clicks on your image it will look small and awkward – so for Pinterest, try to create images that are 640×1200 or longer.
Always Optimize the Original Image
Even the most beautiful image can be a little bit more breath-taking. It is very, very, very rare that I don’t at least touch up the saturation or contrast, especially since I am almost always using free stock photos. PicMonkey gives you the ability to easily adjust the colors (saturation and temperature) and exposure (brightness, highlights, shadows, and contrast). All of these adjustments are found in the Basic Edits section.
The last thing you want is a dull image, so try your best to make colors pop and have a strong contrast. Play around with color and exposure tools and you will be pleasantly surprised what you can do!
Related post: Where to Find Amazing Free Stock Photos
 Incorporate Text
Adding text to your image is really important, especially if you’re creating one for Pinterest or your website. Facebook is the only platform that I don’t always use text for, but it certainly doesn’t hurt. And I never, ever create an image for Pinterest that doesn’t include text.
There are a few things to remember when you’re adding text to your image on PicMonkey:
- Make sure there’s a good spot on your image where text can be added (blank space) that doesn’t interfere with the important part of the image.
- Make sure that the text pops out – use colors that directly contrast the background.
- Use different fonts (but not too many).
- Experiment with different fonts and colors on the same image to see if you can get keywords to pop.
Create Collages
Collages are one of the coolest tools that PicMonkey offers, especially for Pinterest photos. This is what you want to do if you’re creating a roundup blog post and want to feature a few different images.
Here’s what to consider when you’re making collages on PicMonkey:
- You still want to make sure you’re creating your images with the proper dimensions, so adjust that before you start adding photos.
- Leave a block empty to add text! (You will need to first save your collage with the empty block, then re-upload it to add text)
Experiment with Blank Canvases
This is another trick that has made me fall in love with PicMonkey. You can start out with a blank canvas (you pick the color) and create an image that is only text. This is perfect when you can’t find an image that fits your topic, or if you really want your title to jump out at people. This is also what you want to do to create inspirational quotes and advice (those do great on Facebook!). PicMonkey has a section of textures that help to make the background seem special, so definitely take advantage of those.
Experiment with Overlays
PicMonkey has a section for overlays (the little butterfly icon) and some of them can work wonders for your images. You want to be careful to not go overboard, otherwise it will start to look like you’ve added good ole’ fashion clip art to your pin. But if you choose wisely, the selections can help to add pops of color or frame your text.
The overlay section is also where you can go to upload your own overlay. This is especially useful if you want to add a watermark or your own logo to images.
I hope these tips helped you learn how to use PicMonkey to improve your blog! I use PicMonkey almost everyday so hopefully it will be just as powerful for you as it is for me.
If you’d like more tips on reaching financial freedom, living a fulfilled life, and raising happy kids, subscribe to MBAsahm for notification of new posts!
1 Comment on How to Use PicMonkey to Create Your Blog & Website Images
Comments are closed.
This is an very, very informative post. I have been trying to decide which photo editing tool to use. You helped me to make up my mind. Thank You